5 Practical Steps to Follow For an Effective Security Camera Installation
Drilling holes through walls and arranging cables to connect various security devices seems like a tall order. Nonetheless, modern security camera systems are modified in a way homeowners can install the devices without hassles and professional skills. A full security camera system includes cameras, cables, storage device (DVR) and a monitor to display the surveillance videos. The complexity of the devices will depend on your preferences and needs. Without further ado, follow the following practical steps when installing a security camera(s) in your home;
- Preparation
Preparation involves planning the surveillance areas and buying a security kit. A plan determines the kind of camera system to purchase for your home or business. Undoubtedly, monitoring every square meter of your house will prove power-inefficient and utterly expensive. Hence, it’s critical to determine the key areas that you want to monitor throughout. It’s advisable to draw a rough sketch of your house and pinpoint the area of camera installation. Subsequently, purchase the appropriate package to suit your surveillance needs. A basic system comprises a DVR, suitable cables, one to three cameras, and power cords.
- Install the Cameras
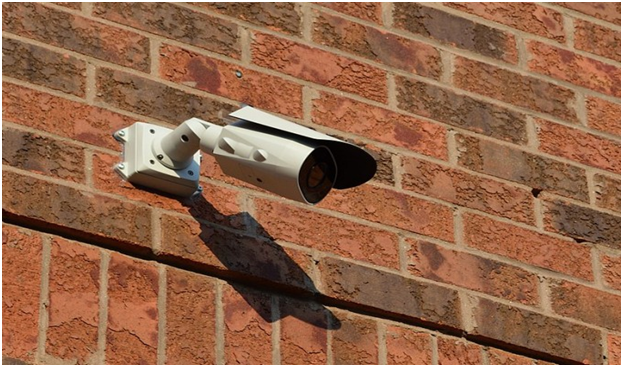
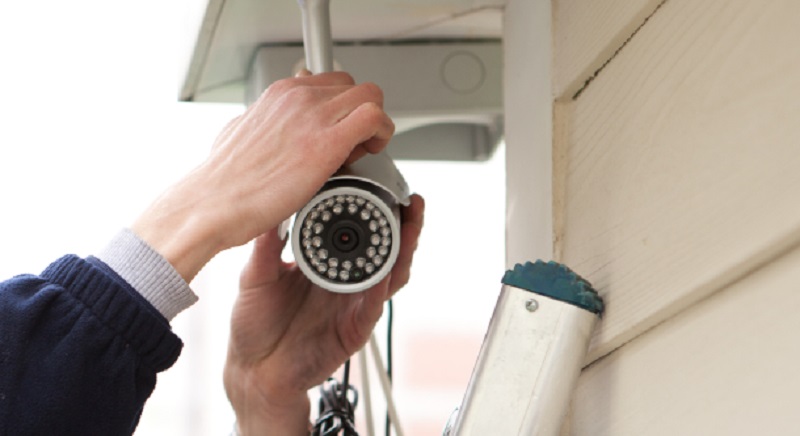
The best security cameras offer a wide angle of view. Mount your indoor cameras near the corners of your rooms. Some cameras come with sticky pads to attach on the walls, but it’s best to screw them in place. Mount your outdoor camera at least 10 feet high on the wall to prevent easy access by intruders.
Moreover, ensure that you install the camera near a power socket. Subsequently, attach your cameras to a power source. Each camera comes with a power cord that can fit in the standard power sockets.
- Install the DVR
You will need a DVR (digital video recorder) to store the surveillance footage. A DVR receives video feeds from the installed cameras and then broadcasts the feeds on a monitor which can be a small TV or personal computer. DVRs have varying memory capacities which affect the length of stored videos. Placing the DVR inside a protective compartment is essential. This prevents a burglar or an intruder from tampering with the device or deleting the recorded videos.
- Connect Your Camera to the DVR
Conventionally, BNC connection is used to connect security cameras to the DVR. BNC cables have identical ends and are easy to use. There is a BNC port in the DVR for each security camera you install in your home. However, you find that your camera cables lack a BNC connector.
Consequently, purchase a BNC adapter online or from nearby hardware. During the connection, plug one end of the BNC cable to your camera’s output and the other end to the DVR’s input port. Ensure you lock the BNC in place by turning the small nut at its end.
- Attach the DVR to a monitor
The step completes your camera installation. The monitor displays the feeds from the security cameras with the help of the DVR. BNC cables are commonly used to connect a DVR to a TV monitor. Nonetheless, you may use a VGA or HDMI cable to connect your storage device to your computer. Lastly, troubleshoot your camera system and power all devices.
As you can see, security system installation rochester ny isn’t that hard. Before buying your package, ensure that you have a plan that outlines all key areas that you want to monitor. Then, proceed to buy a package that suits your needs and as per your house blueprint. Subsequently, follow the steps outlined above to complete the installation.